Trip report · Split Mountain · North Slopes · August 30, 2024
Split Mountain
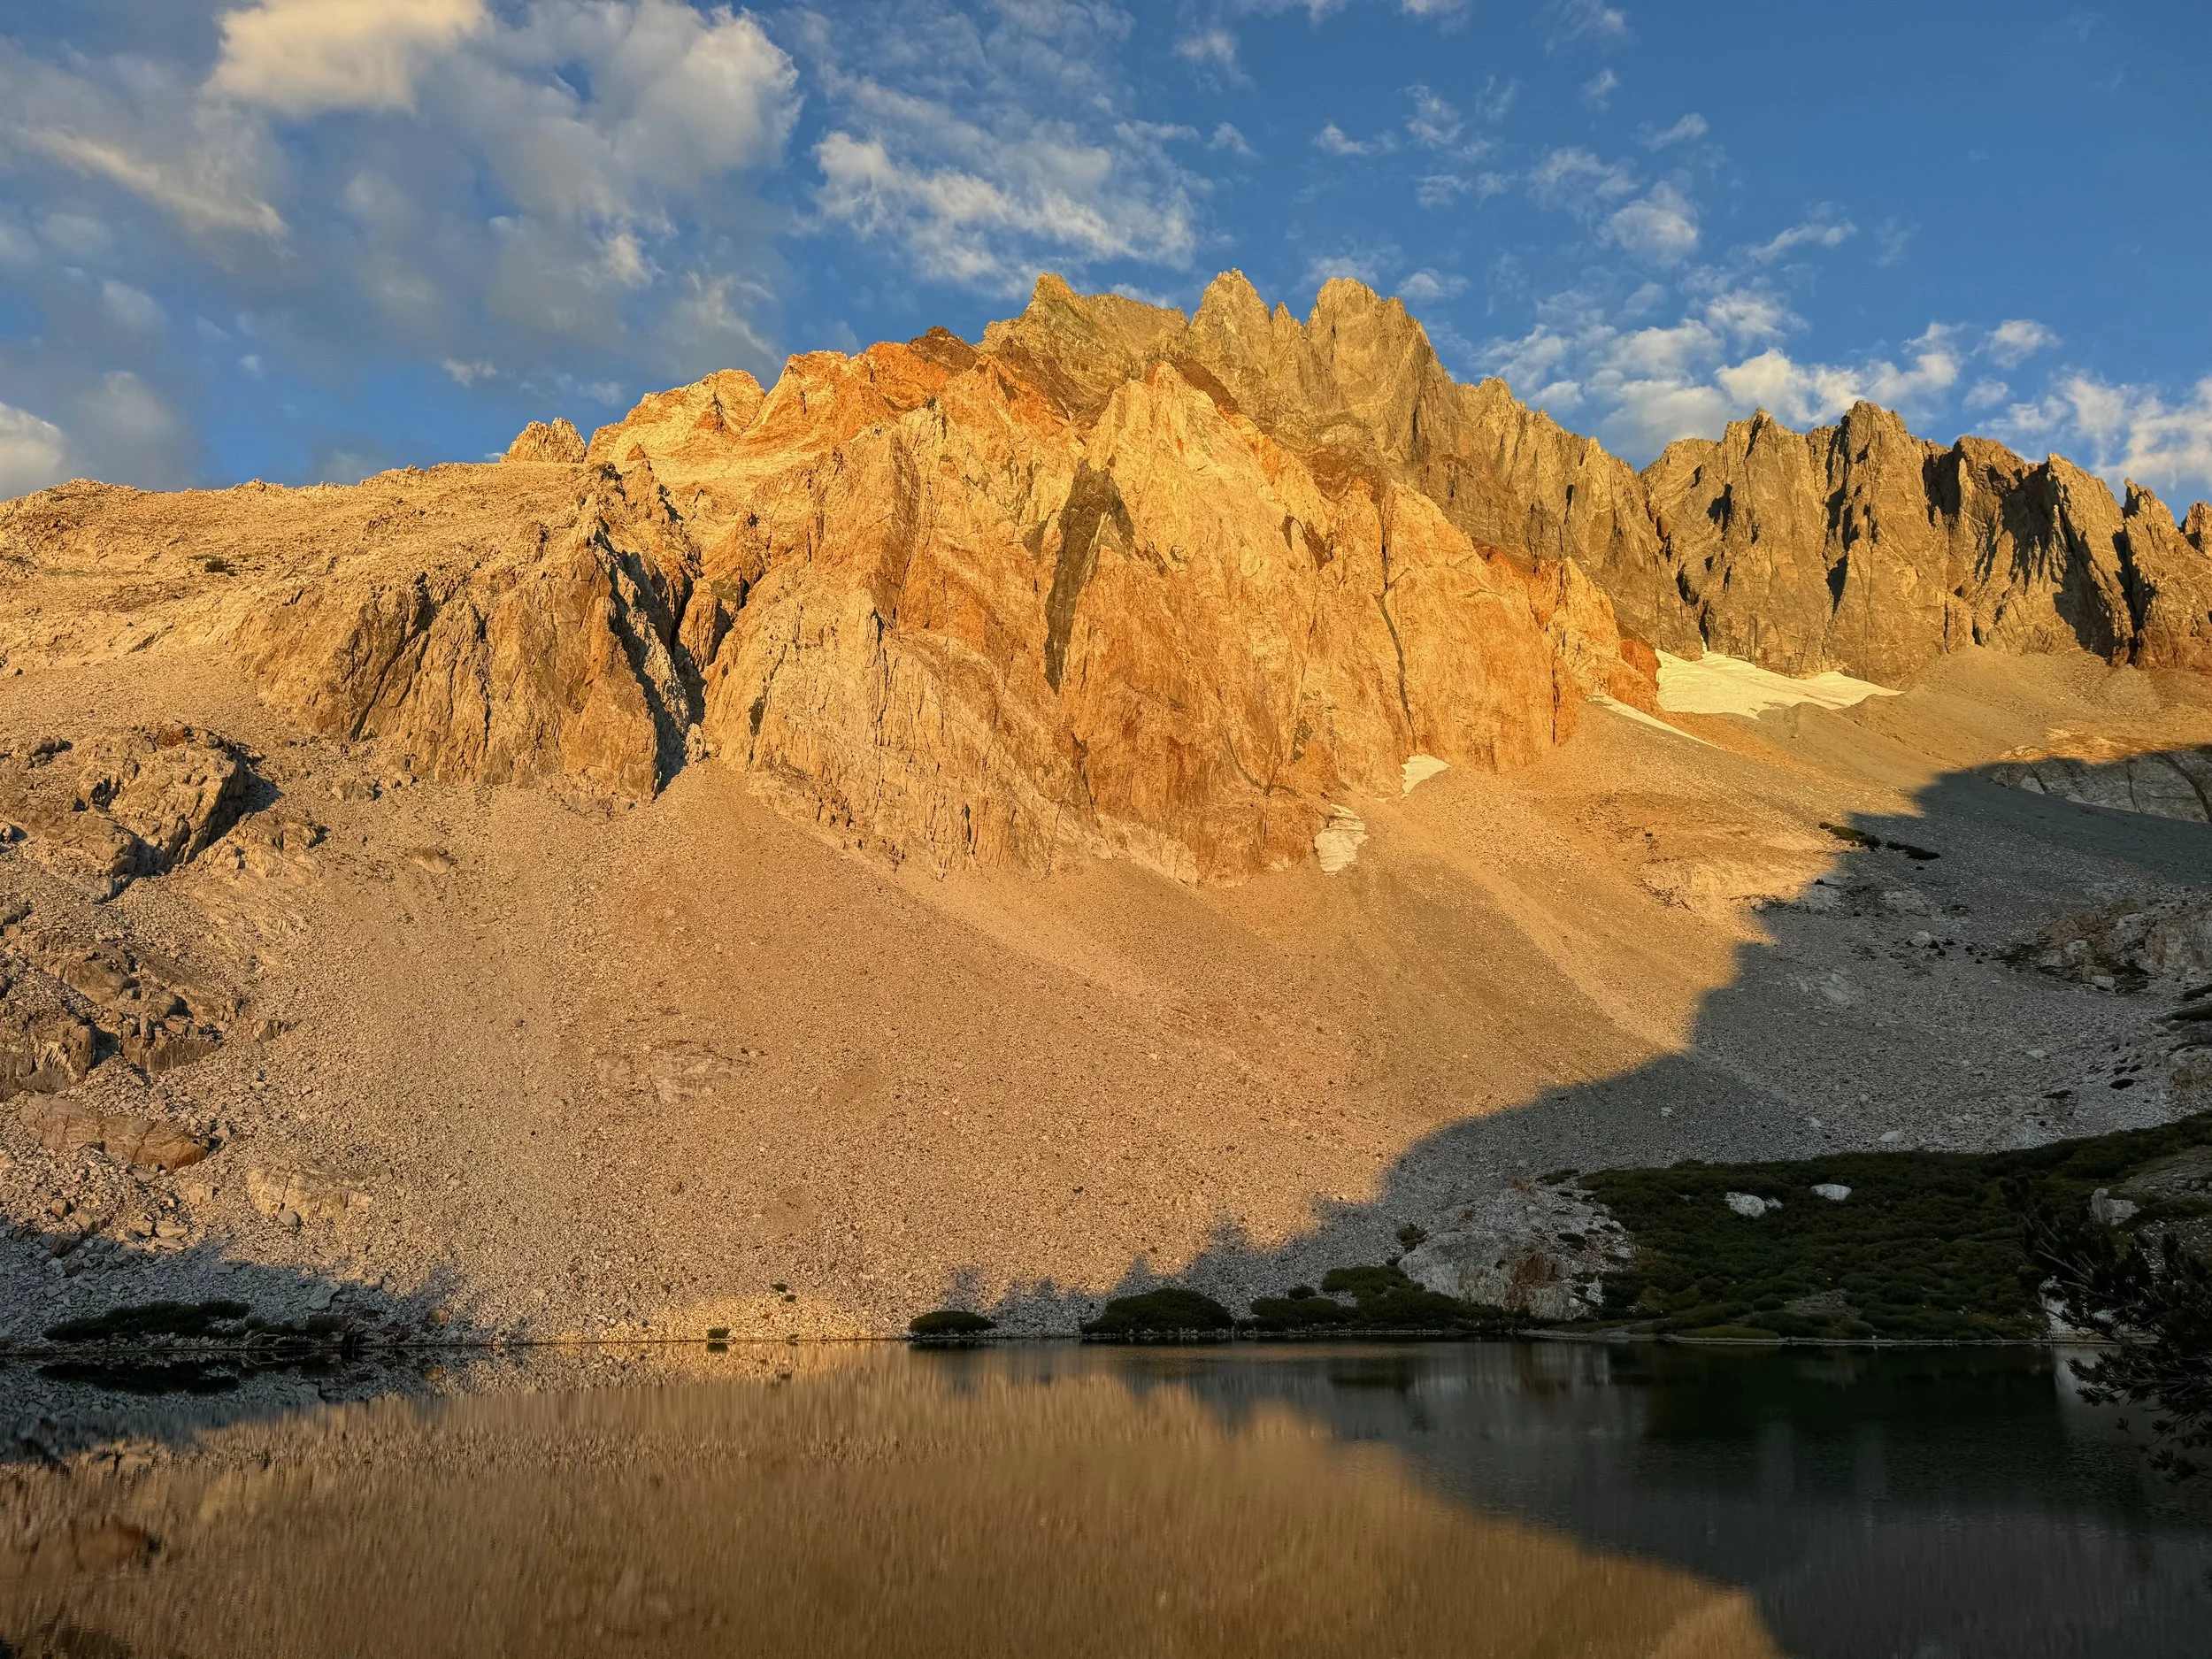
After having my sights set on Split for some time, my partner and I finally went for it over Labor Day weekend. Having only been able to obtain overnight permits with an entry date of Thursday the 29th and not wanting to "break the rules", we drove up after work and hit the trail just before sunset which meant hiking in the dark with heavy packs. But before I get into the trail, let me back up and talk about the "road" to the trailhead. Having driven plenty of rough roads to fourteener trailheads in the Colorado Rockies, I'll admit I scoffed at the horror stories about the road to the Red Lake trailhead, but it was that very road that had the last laugh in the end. What starts as a deceivingly smooth dirt road quickly devolves into a rutted-out, uneven, overgrown slope of rocks and potholes. My Subaru Outback made it to the trailhead without any issues, but I punctured a tire on the first hill going back, requiring a tire change offroad in the 97-degree heat. Not fun. Could have been avoided by driving a hair more slowly, so the moral of the story is that slow and steady wins the race. In a true off-road vehicle like a Jeep or Bronco, you could probably make it from Big Pine to the trailhead in about half an hour, but most others will have to budget anywhere from 60-90 minutes depending on your tires, ground clearance, and offroading skills.
But back to the main event – the "trail". Beginning at 6,600 feet, it climbs approximately 4,000 feet to Red Lake over about 4 miles on loose, poorly maintained, and at some times completely overgrown and washed-out dirt, sand, and scree. As other trip reports mention, you'll find yourself wishing that it had been built with more switchbacks. Or perhaps a blaze here and there. The cairns are useful, but as of the time of writing, they are few and far between and should not be relied upon. Whatever your typical hiking pace is, you'll never come close to it here because the "trail" is some sort of sick joke. I will say that I'm relieved it got pitch-black halfway through our ascent that evening because there would have been no relief from the sun. We eventually arrived at Red Lake around 10:00 PM and had the entire place to ourselves. Thankfully, we knew we had a wide-open weather window the following day, so we decided that given the strenuous night hike up, we'd get a leisurely start in the morning. Best practices be damned – with perfect conditions like that, I'll take any excuse to eschew a proper alpine start and prioritize a good night's sleep ahead of a summit push.
I awoke at 7:00 AM to a jaw-dropping view of Split Mountain towering above Red Lake. We made coffee, ate breakfast, packed our daypacks, reviewed the route beta, and set out for the summit around 9:00 AM. From the moment you leave Red Lake, you won't have stable footing for a single moment until you return to your campsite, but don't let that deter you – the views are spectacular, the alpine air is crisp, and you'll feel like a badass every step, skip, and slip along the way. We followed the obvious zigzag up to the first saddle, which is nowhere as steep as it looks from Red Lake, but it's a real slog riddled with loose talus. You're best off sticking to areas with vegetation and larger rocks as other trip reports state. We topped out at a moraine with a snowfield that tapered to a point just below an obvious notch. You can circumvent this snowfield by walking on the talus to the right, but we opted to put on microspikes and walk straight across it, which was our favorite part of the ascent due to the ease of movement. At the end of the snowfield, we identified a shorter, less steep line up to a ridge that appeared to connect to the notch with the red rock in the middle of the headwall via an easy traverse. Surprise: it did not connect as easily as we'd anticipated, so we descended and traversed to the steeper, "correct" slope up to the notch, which wasted some time. The lesson here is to never try to outsmart your route beta because there's a reason you spent all this time researching it in the first place. You idiot.
Once you reach that notch, the fun begins – you may have thought you were climbing a class 2 route, but if you read the fine print in Secor's guidebook, you're actually on a class 3 route. Congrats! Now it's time to struggle up some loose talus to a chute. The chute is full of horribly loose rock that will break if you look at it funny, but the good news is that it's flanked by relatively solid class 3 rock, which you'll find to be quite the relief from the class 2 choss. The best holds are found to the climber's right when ascending the chute, and while you'll likely trigger multiple rockslides as we did, you're unlikely to slip and fall so long as you're gripping the solid class 3 rock. There's a steep, shaded, and snowy chute to the climber's left during this section, and we heard a couple of massive rockslides there that were thunderously loud, so be prepared for that to shake your nerves a bit. We were the only party on the mountain so were able to mitigate rockfall between the two of us, but on a crowded day or in larger parties, communication will be vital. If you aren't primed to yell, "ROCK!" then you shouldn't be on this mountain.
Once we reached the top of the chute, we found ourselves at the 13,000-foot Red Lake Pass with the summit in sight. We simply walked straight up the loose talus slopes to the summit, which boasts some of the best views in the Sierra. I Facetimed my mom, we signed the summit register, basked in our achievement, and then began our descent. While there is a faint social trail that switchbacks and avoids much of the looser rock, it is easy to get lost and head toward a sharp cliff's edge that would certainly kill you, so it's advisable to stay to the right as much as possible even if that means negotiating less comfortable terrain. The top of the chute you ascended should be visible on the descent, so aim for that. Due to the looseness and lack of traction going down the steep chute, we had to get on our butts at a few points, but a fall would not take you far so there's no reason to sweat it. Just take your time and move carefully. You won't descend this mountain quickly, so budget more time for this than you normally would. It's also easier to lose the route on the way down – which your exhaustion will only compound – so keep a close eye on your map. We made it back to Red Lake in time for a beautiful sunset, ate dinner, and then promptly crashed before waking up early the next day to break down camp and hike back to the trailhead.
The descent to the trailhead took longer than we anticipated due to the loose terrain and the route-finding was harder than it was on the way up even in the daylight, and the aforementioned flat tire made for an eventful trip home, but we made it back in one piece. Although I'm unlikely to ever set foot on that trail again and it's not for the faint of heart, it was an exhilarating and rewarding experience on a gorgeous mountain, and I'm ecstatic that we finally bagged Split.